In this article I am going to try and show what is involved in performing an engine swap on a 240. I would remind you of the need for the correct working space tools and equipment and the need to take any necessary safety precautions. I have not gone into full details on everything as i am assuming anyone considering doing this will have a reasonable amount of mechanical experience working in the car. It is intended to help provide a general guide and a few useful tips particularly with regard the getting in and out of the engine.
The particular car illustrated is a 1987 245GLT manual fitted with an lpg system and no functioning petrol. The principles apply to all 240s but will vary in detail according to age, fuel system and whether manual or auto.
I will describe the operations in what I consider the best order to do them although I may not have done it quite in this order on this occasion.
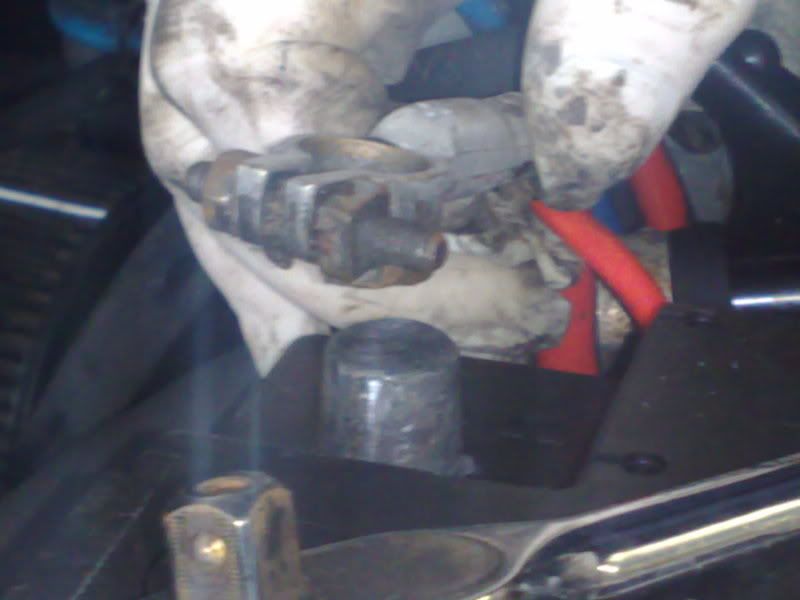
The first job should be to disconnect the battery (make sure you have the radio code first).
On mine the next job was to remove the radiator. The easiest way to do this is to disconnect the top and bottom hoses on the engine end. (If engine is hot make sure pressure cap is carefully released first and beware of hot water when pulling hoses off – best to wait till engine is cold) The two hoses from the header tank at the radiator end. Note the small expansion hose should only be a push fit – if it has been clipped disconnect the clip. (If excessive pressure builds up in the system – maybe due to faulty cap – this pipe can then blow off releasing pressure.) Next loosen the two securing brackets on the front panel and they can be turned to free the radiator. It can now be carefully lifted out – place it in a safe place where it can’t be accidentally kicked.
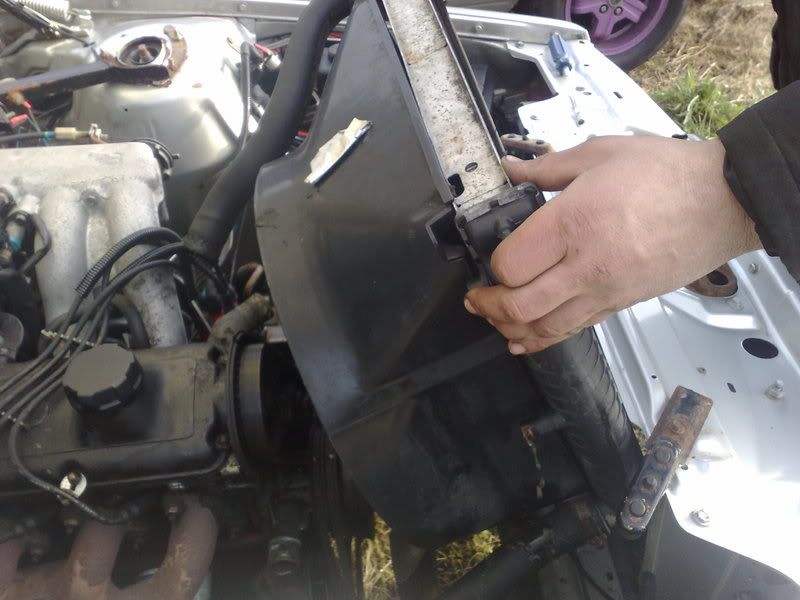
If you have an early car you can unbolt the front panel (mine comes off as when I restored the car I fitted a new panel bolted in the same way as early cars)
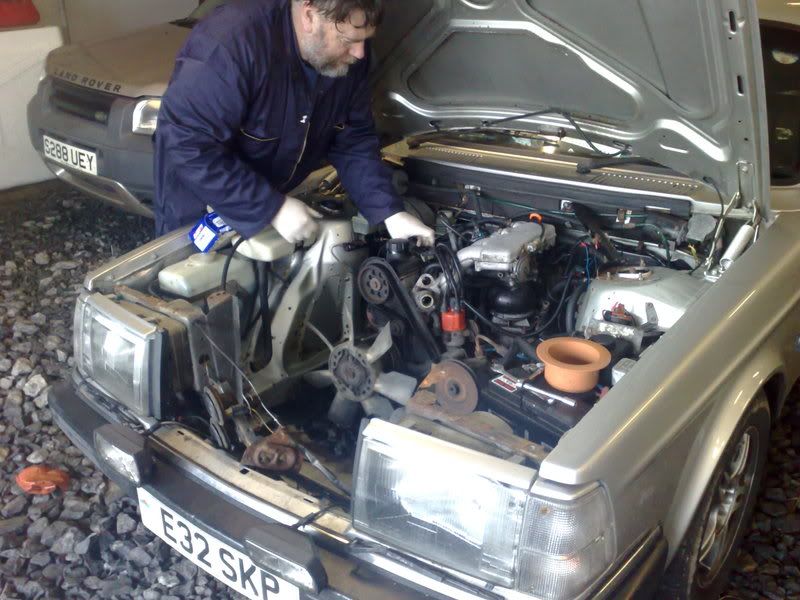
I the continue doing all the work in the engine bay. First I remove the cap and HT leads:
Next remove the braided strap (fitted to the cam cover) from the engine:
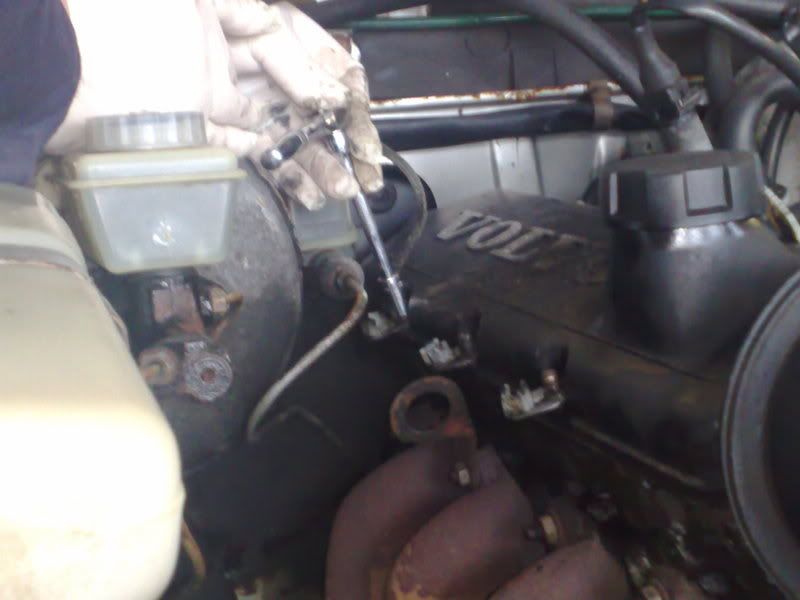
Next item is to disconnect the accelerator cable – turn the sprung holder of the cable at it can be pulled out towards you. Then remove the clip and the cable can be removed. (I usually refit the clip to the cable to avoid losing it.) Tuck the cable out of the way
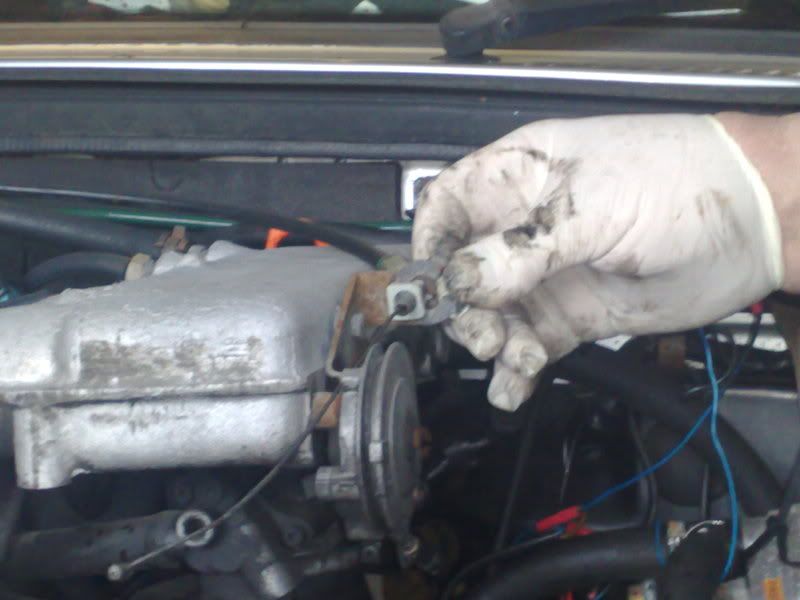
Next disconnect the brake servo pipe from the manifold first loosening the sprung clip to allow the pipe to be pulled off. Again put the cable out of the way.
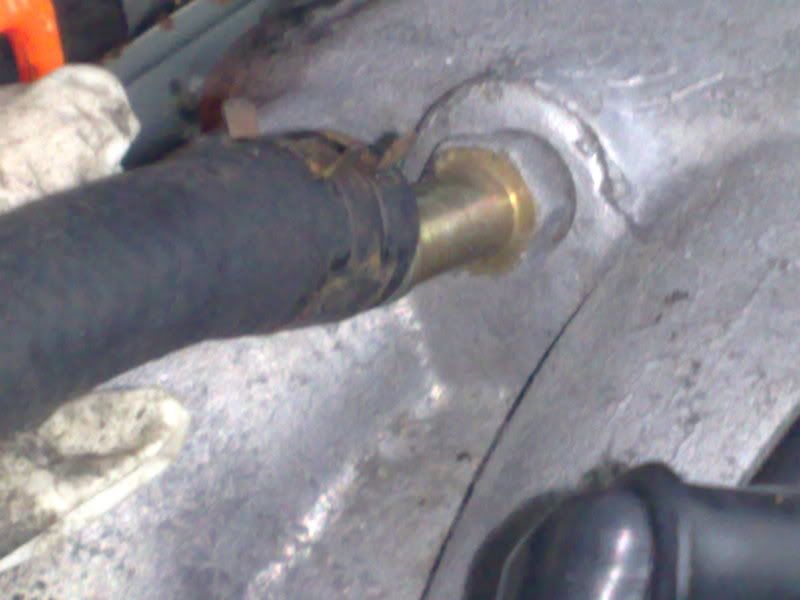
Next move to front of the engine. Power steering pump needs taking off – slacken the retaining bolts and use the adjuster to slacken the belt. Then remove the retaining bolts and the pump will come off the engine and can be left down beside the engine out of the way.
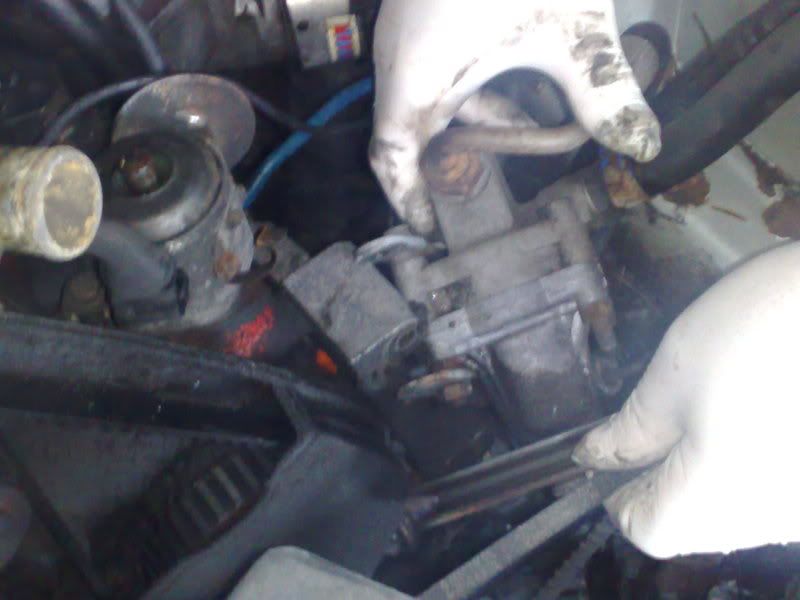
The engine earth strap from the battery is attached to the front engine mount. Remove and place out of the way.
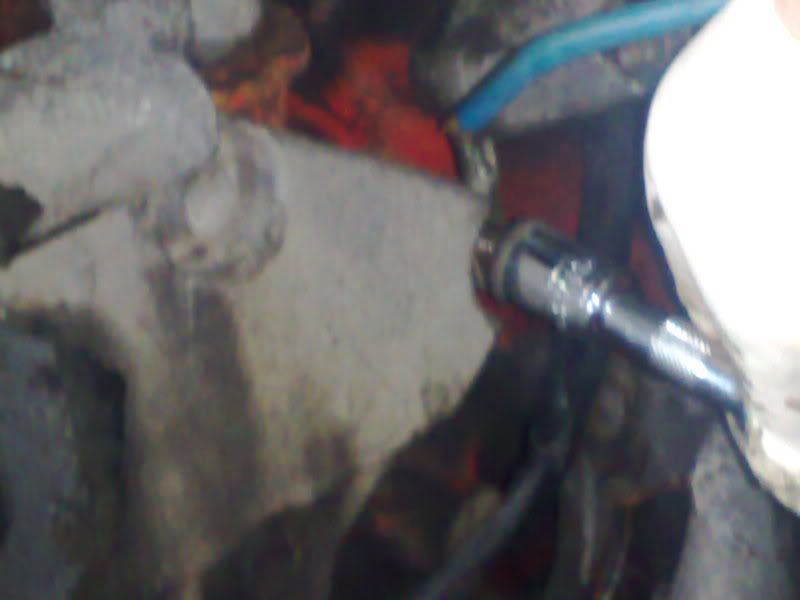
Take off the air pipe from the metering unit. Remove the main power cable on the starter- hold cable to stop it turning (Battery disconnected???) Then pull of the small cables.
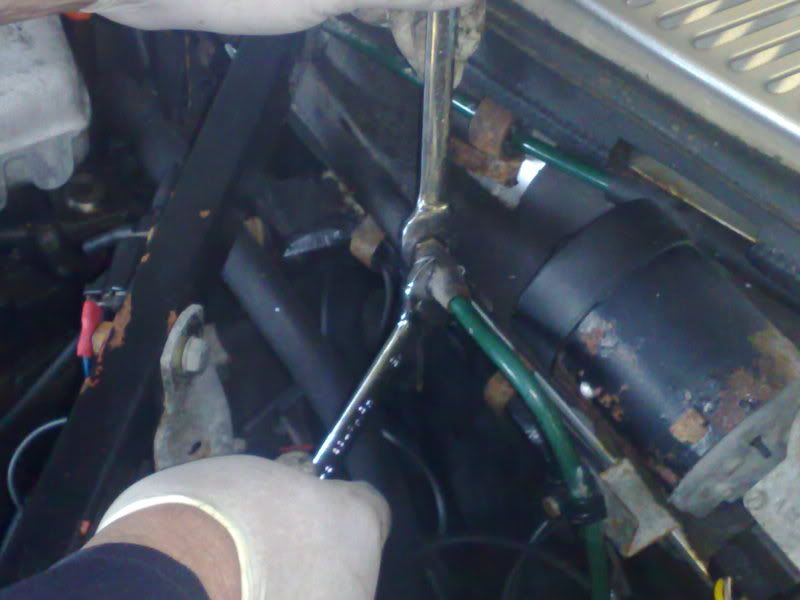
The petrol lines will need disconnecting – remember they are under pressure so cover with a rag – petrol in the eye is not pleasant. The photos just show spanners in the place they are undone.

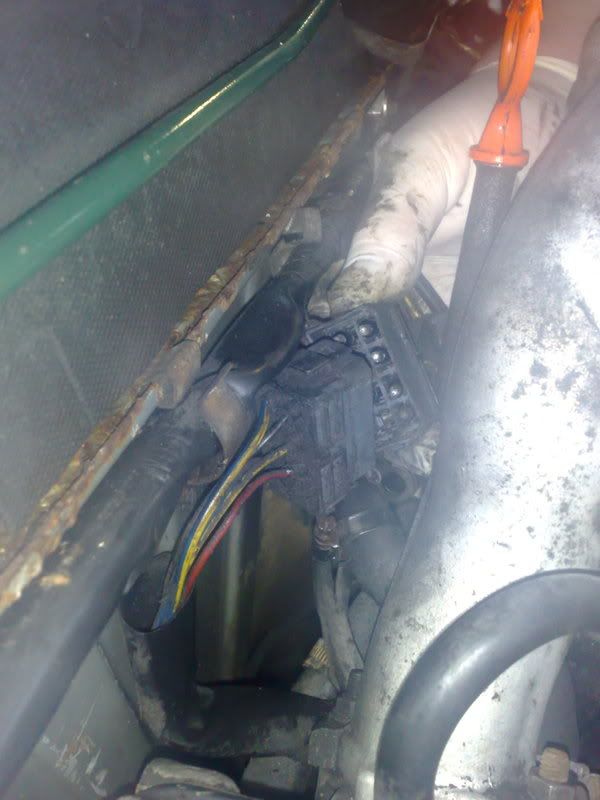
Next disconnect the engine loom which is behind the engine
The last remaining job is to remove the two heater pipes where they go through the bulkhead
(sorry no picture lpg equipment obscures)
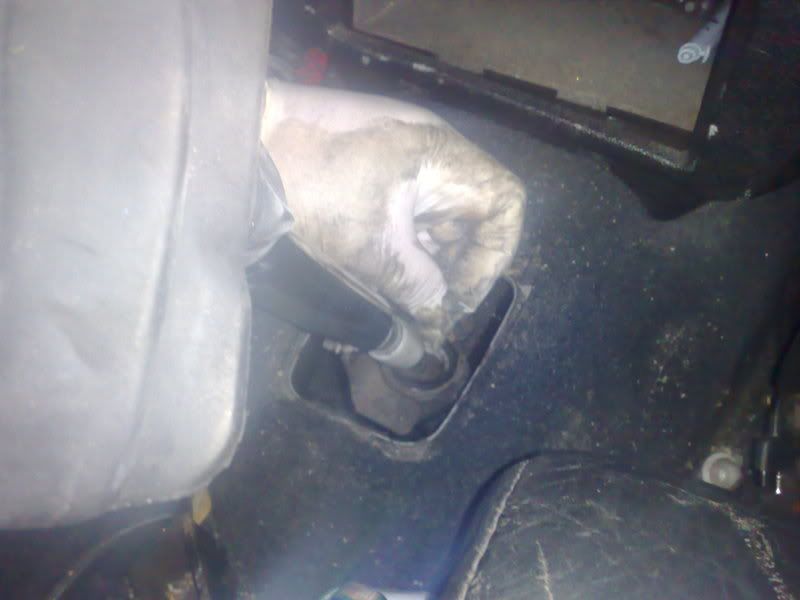
Now through to inside the car and remove the gear lever gaiter and lift up the lever to allow access. Remove the circlip with circlip pliers
Now to the underneath work – get the car up to be able to work safely underneath it. Remove the exhaust down pipe from manifold – use 1/2″ drive with 9″and 4″ extension. (Removal of manifold is an alternative) The next item is to undo the bottom of the engine mounts where they are secured to the cross member (3 M10 nuts each side). Do not attempt to remove engine mounts at any other position as removal and refitting will be difficult or impossible.
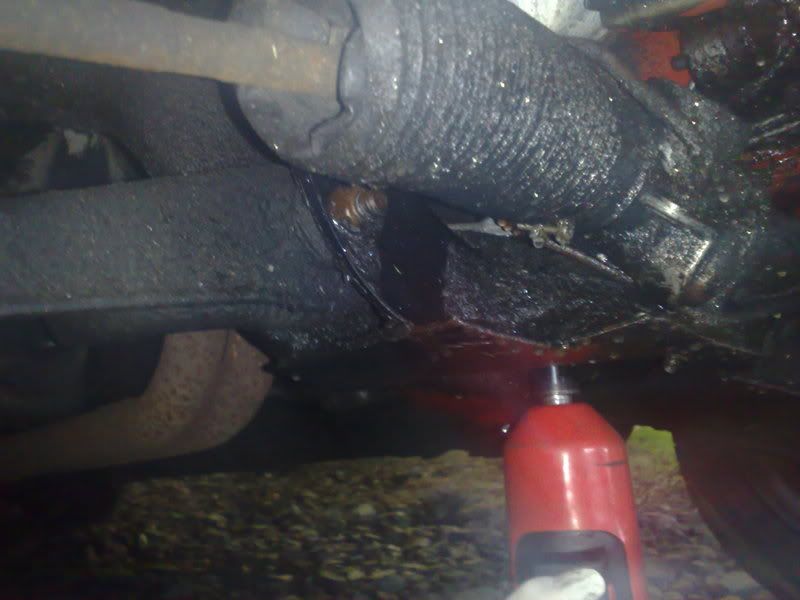
Now remove the four bolts (two per side) holding cross member up – it might be safer to use a jack to support this whilst undoing the cross member – it will drop a couple of inches.
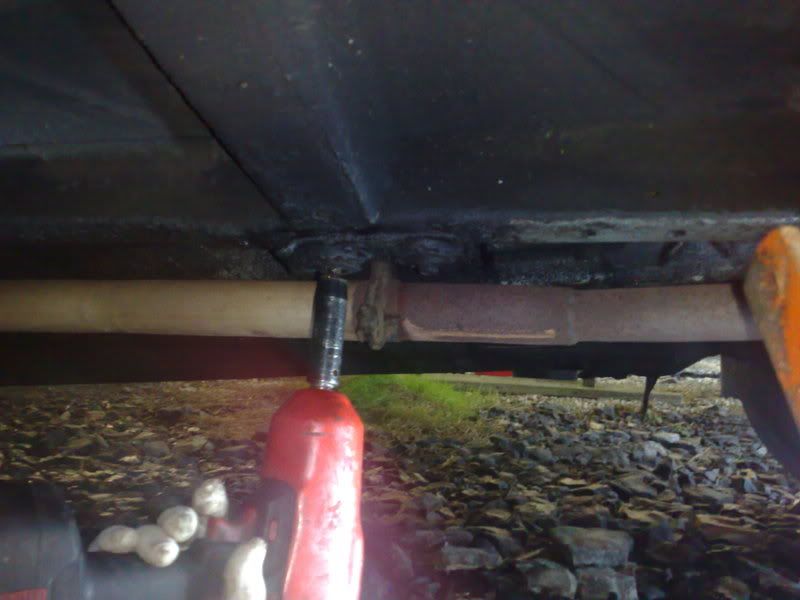
Now undo the nut in the middle of the cross member securing the gearbox mount and remove it.
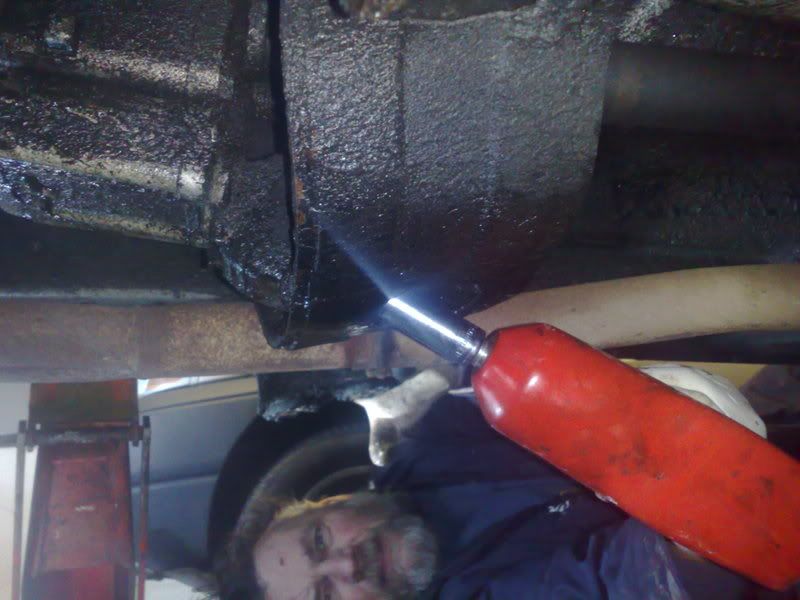
Next undo the four nut and bolts securing the propshaft.
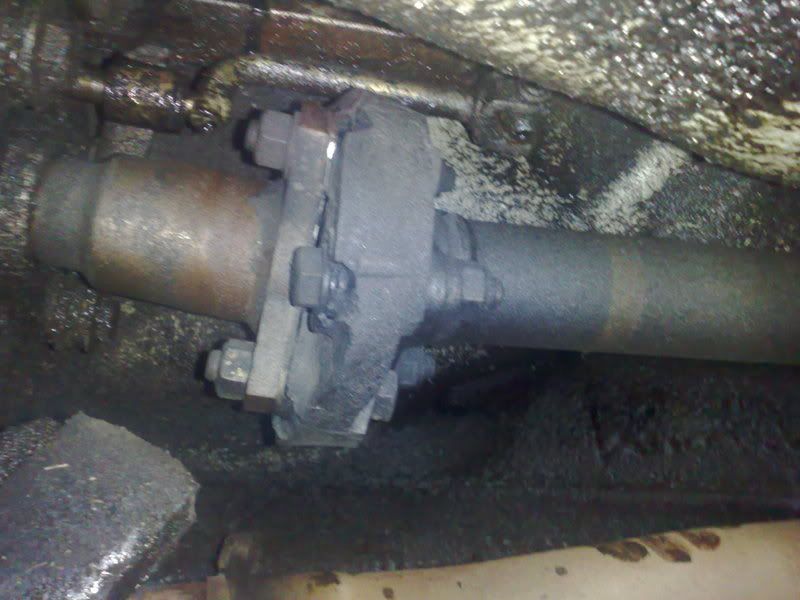
The remaining job is to remove the pin holding the gear lever. This is secured by a grubscrew and undone with an allen key
Final job is to either remove the clutch slave cylinder or otherwise disconnect the rubber pipe on the chassis leg.
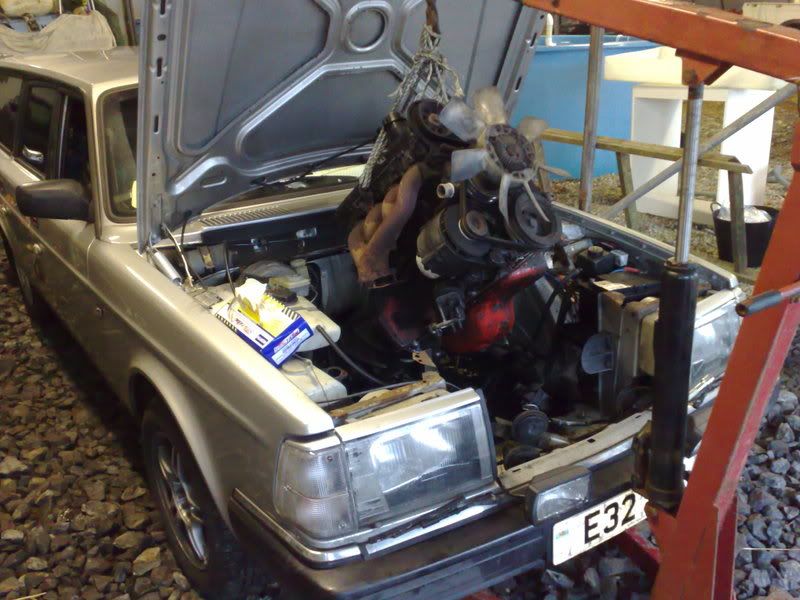
Everything should now be undone ready to remove the engine. Make a careful visual inspection all round to make sure everything is disconnected from the engine and held well away. The engine is now ready to be removed. Suitable lifting equipment will be needed. If using a block and tackle the bonnet will need removing. If using an engine crane a long reach one is needed. The one we used is not really long enough especially if the front panel is in position. Personally I prefer the block and tackle. the engine has three lifting eyes and the rope should be secured through these to the lifting eye. The engine wants lifting more from the front so make the lifting point well forward. Avoid knotting the rope to secure it – wrap it around itself many times before tucking the end in. Take tension of the rope and it should lock on itself.
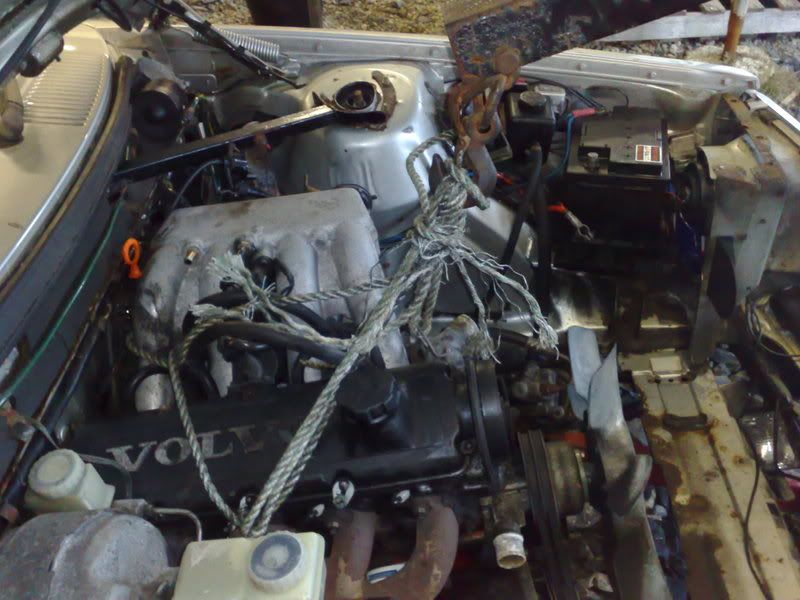
Note position of rope to engine.
It is a case of start lifting and if necessary give it a slight shake to free the mounts from the cross member. Lift a little higher and have a further check that everything is disconnected. Continue lifting being careful of the front panel at the front and make sure you don’t catch the clutch pipe on the bulkhead. The engine should be lifting something like this:
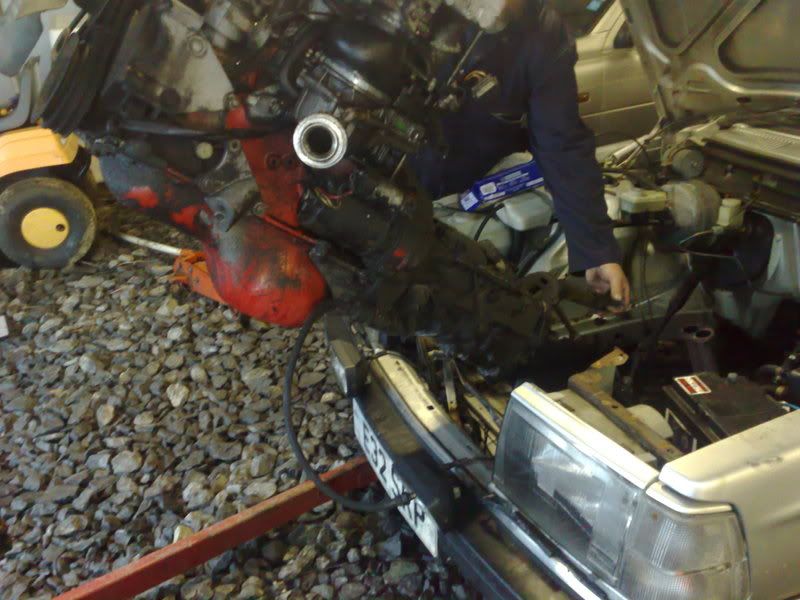
This next picture shows lifting the gearbox to clear the front of the car – you can see why it is easier with no front panel.
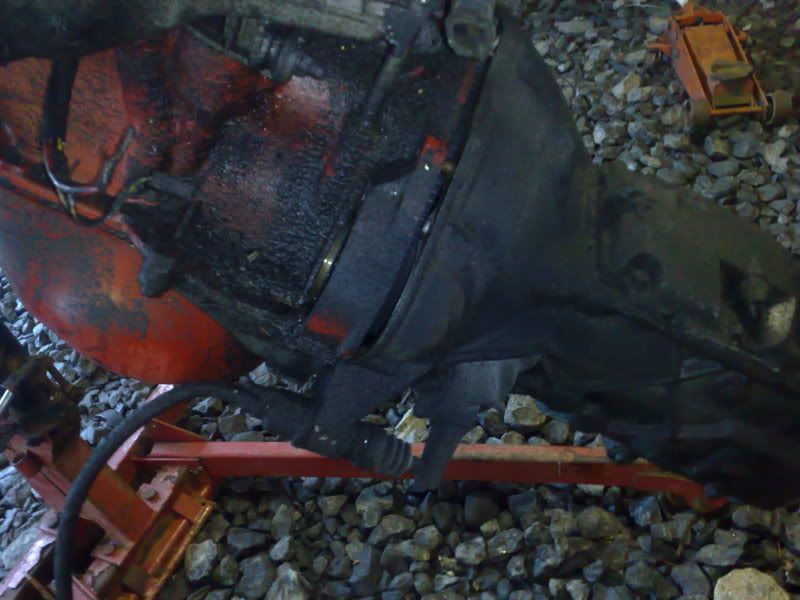
Once out it is now possible to remove the gearbox. I always remove engine with gearbox as it can be difficult undoing the bell housing bolts and on refitting it can be difficult to get the two to mate up – far easier on the ground. Undoing the bolts round the bell housing enable the box to be split from the engine:
The clutch can be removed by undoing the allen bolts in a symetrical pattern
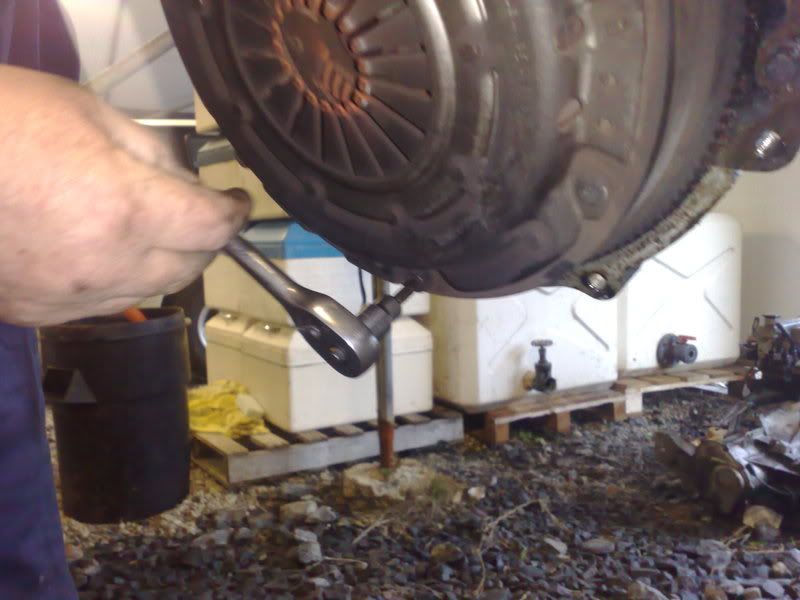
Once removed the clutch can be inspected as can the spigot bearing (in this case it is breaking up)
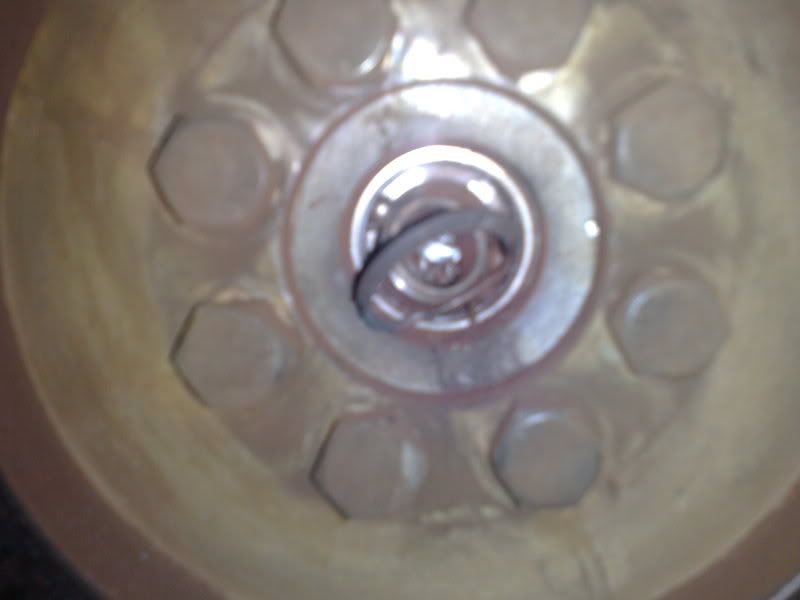
If this needs replacing a small puller will be required to extract it (automatics do not have this bearing so if fitting an engine from manual to auto it has to be removed. The flywheel needs removing to replace the rear crank seal. Make sure its position is marked relevant to the engine. (Reference to Haynes for clutch and flywheel may be useful it gives full details including torque settings).
I would normally suggest replacing clutch and rear oil seal as a matter of course because of the work involved in getting to this area.
Reassemble the gearbox to engine on the ground and take this opportunity for any cleaning and replacement of any other items – possibly cam belt and front oil seals at the same time.
Refitting the engine is basically the same as taking out. The main thing is getting it into position. Again it needs lifting mainly to the front and dropping in.
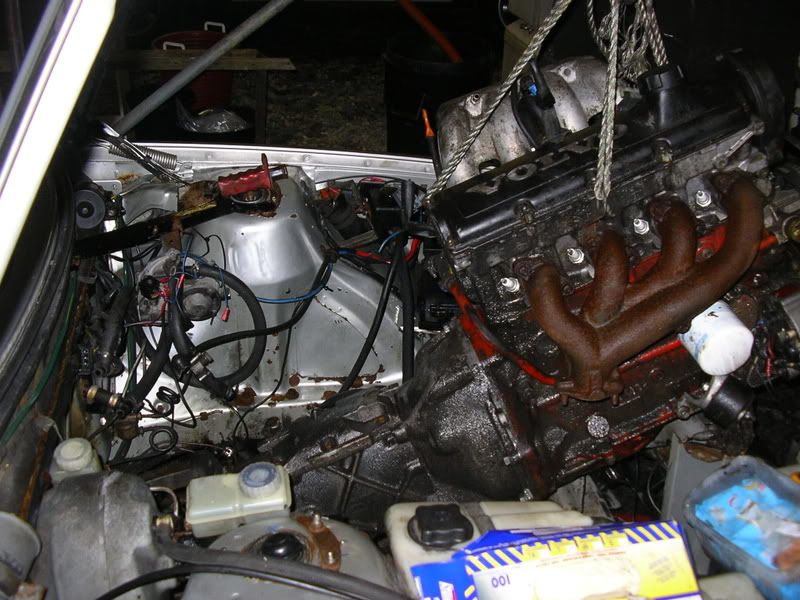
It is likely to need pushing back a bit (WATCH THE EXHAUST):
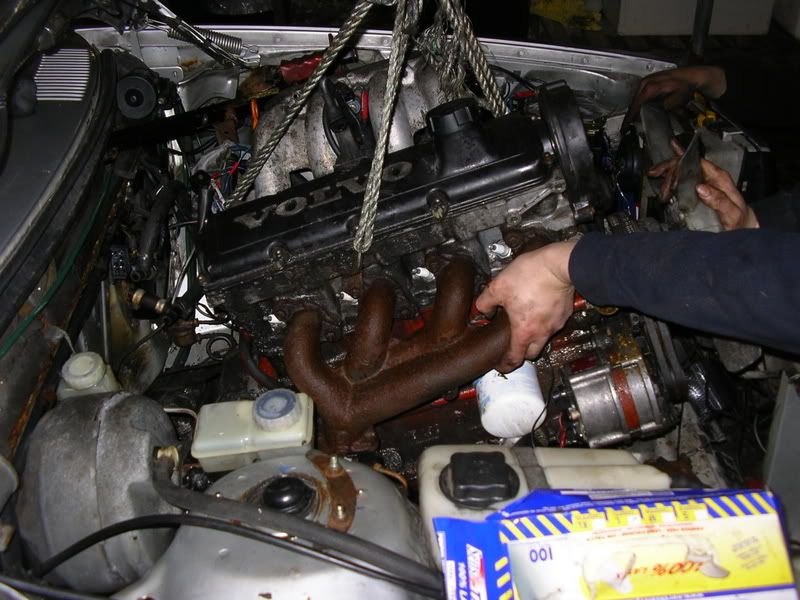
It can help to fix a strap to the gear remote and pass it through the gear lever hole so the gearbox can be lifted and pulled back by a helper. Refitting is at least a two person job. The only way to get the engine to locate correctly is to get the engine mount on the left (intake side) into the holes first with the other mount not making contact. Be careful of pipes and steering column with this one. When the left one is located lower the engine a little further and line up the mount with the holes. If necessary use a large screwdriver or pry bar to lever it into position (watch your fingers!!). When the mount drops into position bolt them up. Then connect gear lever, prop and fit cross member. Jack or lift up and fit – a cross head screwdriver can be useful to align holes. Finally the exhaust can go back on. Top end refitting is as dismantling. Double check everything (including fluids) is fitted and battery is connected, bleed clutch if necessary and it should start provided everything has been done correctly.
If not its a case of back to basics check for spark then check for fuel. If still no joy check anything like beklt is correctly timed if replaced – if all else fails post on your favourite forum!!!
The instructions in this tutorial will work in the following models / years:
-1974, 1975, 1976, 1977, 1978, 1979, 1980, 1981, 1982, 1983, 1984, 1985, 1986, 1987, 1988, 1989, 1990, 1991, 1992 and 1993 Volvo 240, 242, 244 and 245
-1974, 1975, 1976, 1977, 1978, 1979, 1980, 1981, 1982, 1983, 1984 and 1985 Volvo 260, 262, 264 and 265
