Here is a simple guide to replacing the rear pads on my >07 Volvo with electric parking brake. This is based on solely my own experience having just done it but I take no responsibility for the contents!
I used an Autel MaxiEST EST201 with V1.08 software for the release and reactivation of the Electric Parking Brake.
Volvo Part Number for Brake Pads
– Brake Pads for cars with Vented Rear Discs: Part Number 31445796, 30794554, 30671574
– Brake Pads for cars with Solid Rear Discs: Part Number 30794555
Tutorial
Start by chocking the front wheels and jacking up the rear and making sure the car is properly supported. Remove the rear road wheels.
Plug the EST201 into the diagnostic socket (located just below the handbrake switch) and turn on the ignition (no pedals so you don’t start the engine)
The EST 201 screen then looks like this:
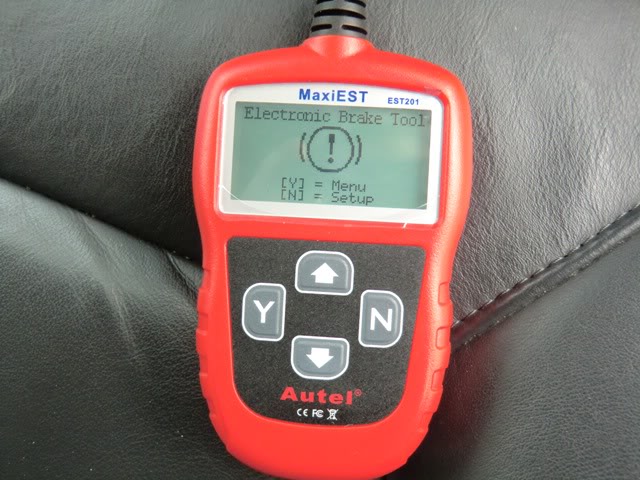
You then select Volvo from the list of manufacturers (item 4):
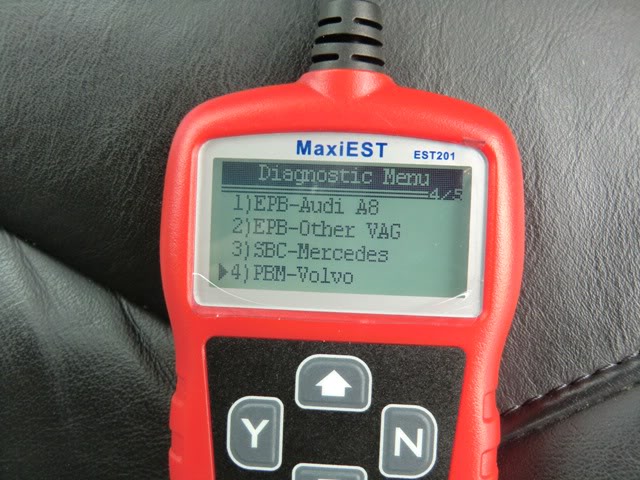
If you want to you can check for any stored codes etc and you can also read the car’s software versions. The next step is to scroll down to advanced:
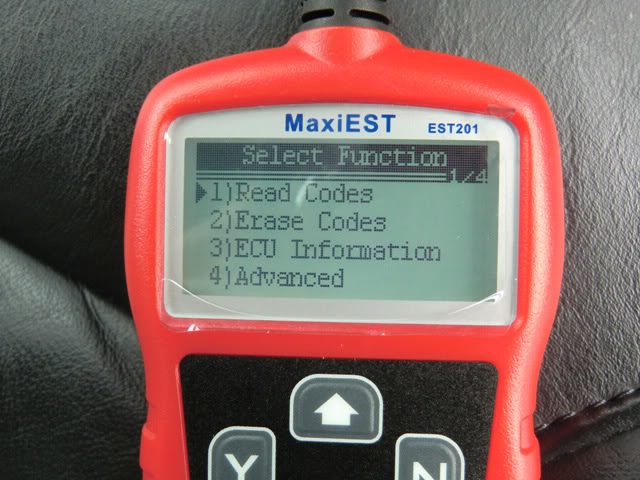
Selecting advanced brings up the service menu:
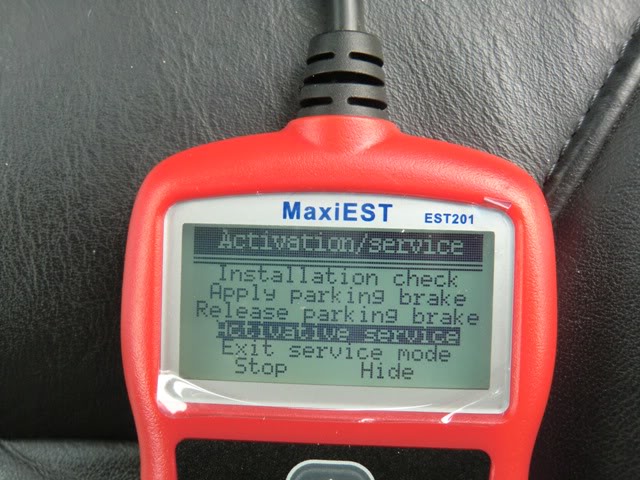
From here you can have fun activating and deactivating the parking brake without using the normal switch but to carry in with the job select “Activate Service” When you select this you will hear the parking brake unwinding, just like when you normally release it but for longer. You can then get on with the dirty end.
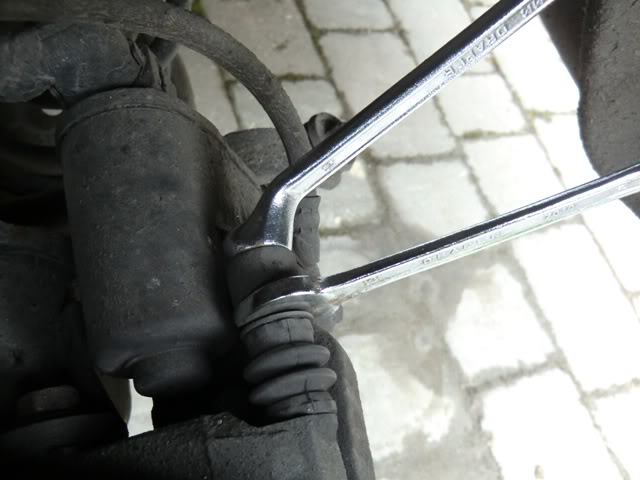
Undo the bolts that hold the piston carrier. This needs a 13mm spanner and also a 15mm open ender to hold the inner part still. Once removed the piston and carrier can swing clear to expose the pads.
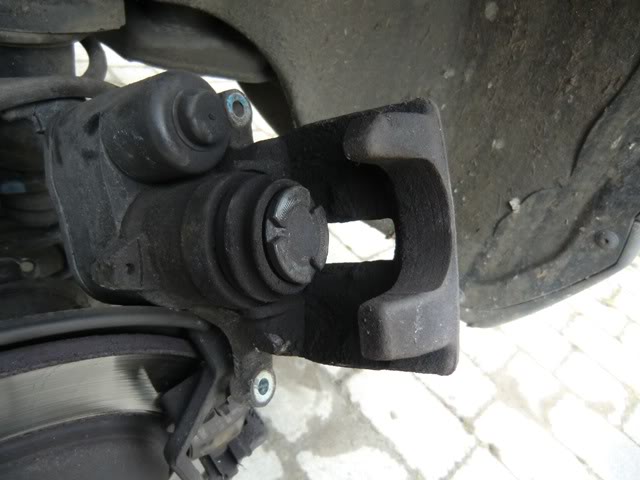
The old pads are held in place by the clips so don’t fall out, simply wiggle them a bit and they come free of the clips:
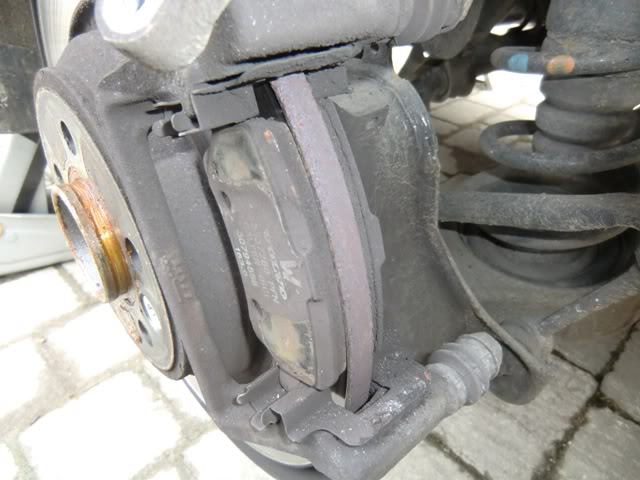
Put the new pads into the clips in the reverse of taking the old ones out:
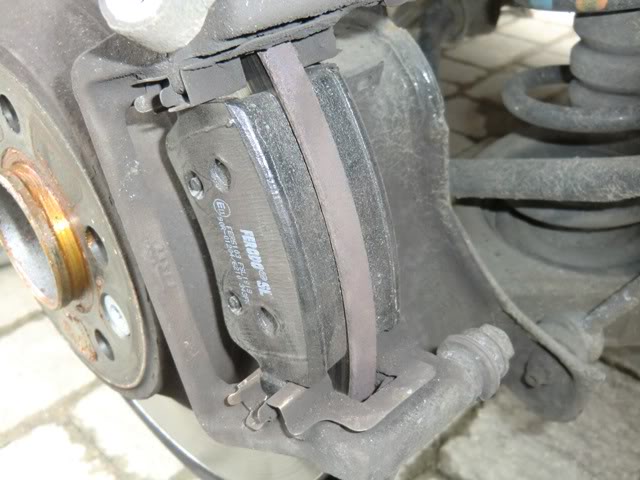
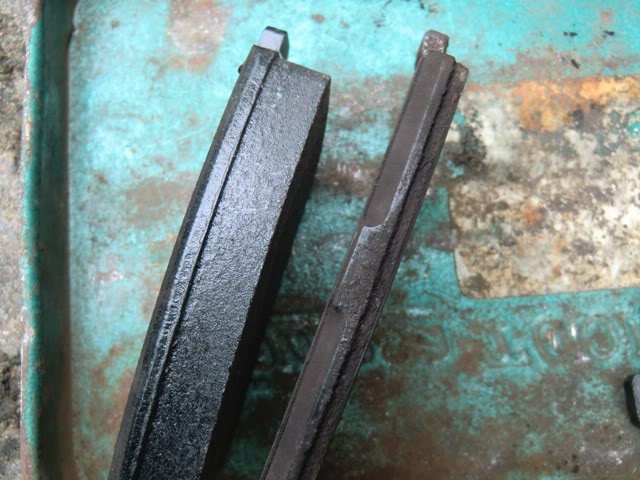
Here is a comparison of old and new pads. This is the worst of the old pads after 60k miles of use. The offside had about 2mm left, the near side had about 3.5mm.
The next step is to push the piston back in. I thought at first it would be one of those you have to rotate but in fact it simply pushes (I used a bit of timber batten and a tyre lever)
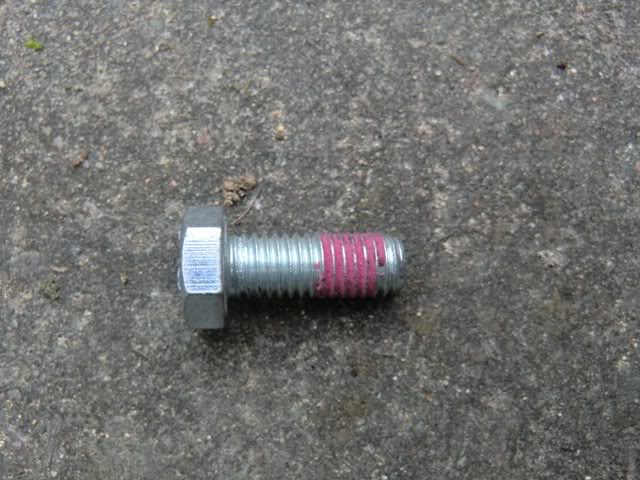
Then position the piston carrier back in place and bolt it on using the new bolts. The new bolts are supplied with the pads and come pre-coated with some thread locking agent:
Once both sides have been replaced and bolted up you go back to the EST201 and scroll up to Installation Check. This runs through a series of application and releases of the parking brake to make sure it all works. When you first go into service mode it stores an error code which gets cleared at this stage if everything is in order.
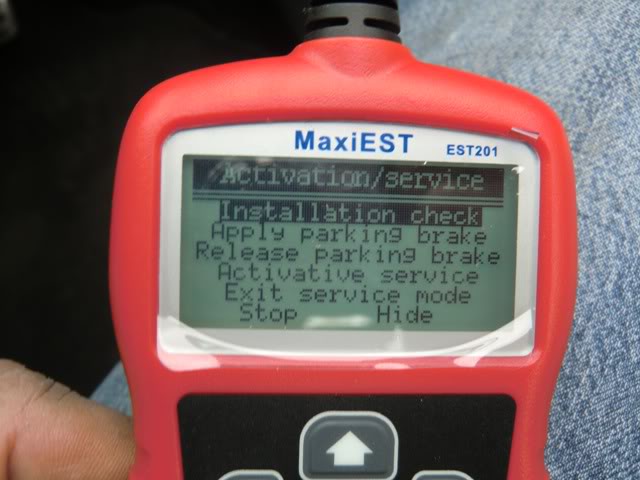
Assuming there are no error messages all you have to do is put the wheels back on and jack it back down again and remove the EST201 from the port and the job is done.
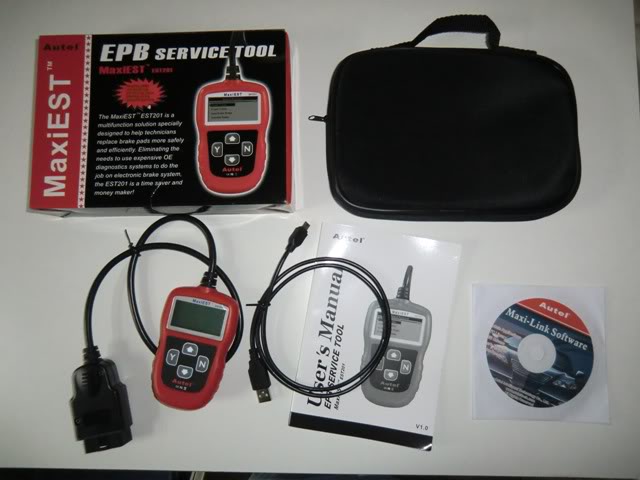
Here is what you get in the kit:
Hope this helps someone.
Original posted in Volvo Owners Club Forum
The instructions in this tutorial will work in the following models / years:
– 2006, 2007, 2008, 2009, 2010, 2011, 2012, 2013, 2014, 2015 Volvo S80
– 2007, 2008, 2009, 2010, 2011, 2012, 2013, 2014, 2015 Volvo V70
– 2007, 2008, 2009, 2010, 2011, 2012, 2013, 2014, 2015 Volvo XC70
– 2008, 2009, 2010, 2011, 2012, 2013, 2014, 2015 Volvo XC60
– 2010, 2011, 2012, 2013, 2014, 2015 Volvo S60
– 2011, 2012, 2013, 2014, 2015 Volvo V60


Edgar says:
Hi Sanzomat
How much for the EST201, Located in ACT?
Cheers
Edgar
Anton says:
Hi, and thank you very much for such a detailed instructions, it’s really help, I bought same tool as you have, but for some reason I don’t have a Volvo in database of my device, can you tell me where did you got the update,if any, or it came this way, and maybe can you tell me your software version in your device, it will help me find the correct one for my self. Thanks again.Anton
Bing says:
While the MaxiEST is a nice tool to have, you don’t need it at all. The electric parking brake motor is easily removed from the rear of the caliper; two small torx bolts, an easy tug, and the motor drops away. This will expose the parking brake splined shaft. Using a T-40 torx bit, turn that shaft clockwise until it comes to a stop. You’ll find the caliper piston can be compressed easily.
When your done, put some clean lubricant on the motor’s o-ring and reinstall. It’s very easy.
Source; the installation instructions that come with Volvo’s brake pads.
steve says:
You can just hook a 9 volt battery to the terminals on the actuator. its a lot cheaper than the tool. if you do enough of them to justify buying the tool do it, but for those of you who rarely see a Volvo let alone work on one this is a much more reasonable approach.
Mark Foreman says:
For a Volvo you do not even need this tool. Just disconnect the wires to the electronic parking brake, be careful not to break the connection. Than apply 12 volts to the terminals going to the electric motor and see if the brakes tighten or loosen the pads to the rotor. If they tighen, just reverse the connections and go until the brakes bottom out. Then stop applying the 12 volts, push the piston back into the caliper using a screwdriver for leverage, remove the bolts from the caliper replace the disc pads reinstall the caliper, apply voltage again to tighten the parking brake reverse the connect for just a second to release the brakes again and do the same to the other side. Next get into your car start it apply the parking brake and release, apply the service brake and release, check your brake fluid and add if needed and you are done. I just did this and it took 35 minutes to do both sides.
martin dickson says:
12v across motor does the same thing, wind it back change pads (pistons stick on Volvos) 12v across again to wind motor back in, check hand brake.
XC70 says:
Where is the EPB electric motor located that you apply the 12v current?
XC70 says:
XC70 2012 – My rear pads need replaced before my front pads. Is this right or is there some mechanical or computer problem? 65000 km. original pads
PJ says:
silly question,does the brake fluid reservoir lid need to be off or kept on?
Alexandra M. says:
Hi, you can kept it on, but be caution because it can let fluid out if it has been overfilled.