If your Volvo S40 / V40 have the Renault gearbox (boxes with reverse up and to the left) , and you are finding that your gearbox has become very sloppy and that you have trouble getting into first, second or fifth gear then you might be in need of a gearbox bushing refresh.
This guide will take you through which parts to get and how to fit them, it will tighten up the gear shift and hopefully regain that ‘as new’ feel.
Step 1
We’ll start at the front of the linkage (next to the gearbox). You need to buy two plastic bushes and two O rings.
The part numbers are :
Bushing 30871722 (£1.15 each)
O-ring 30872329 (0.25 each)
This will set you back £3.29 including VAT in UK
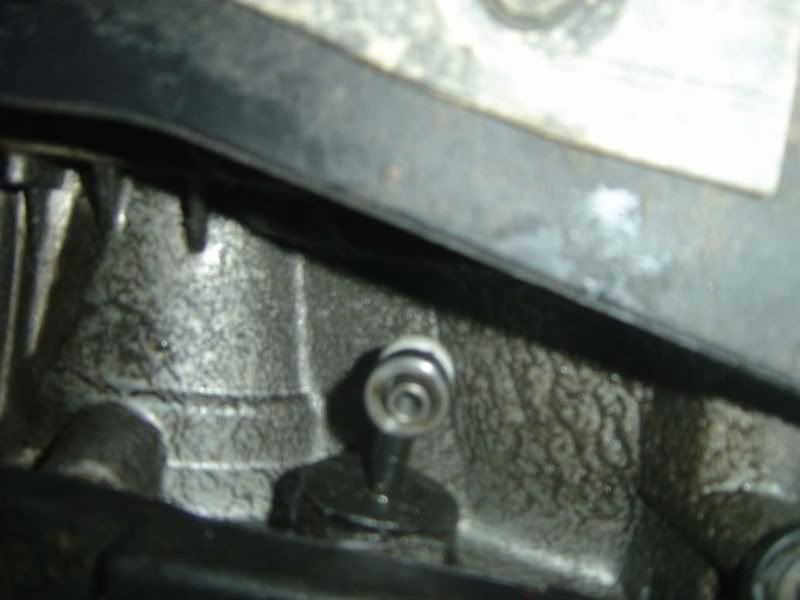
Picture 1 shows the back of the bush and an o ring
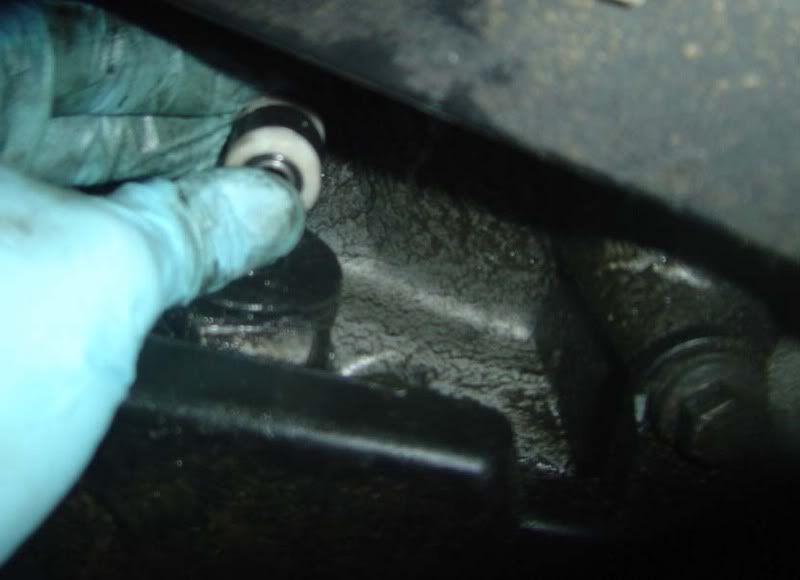
Picture 2 shows the front of the bush where the o ring sits
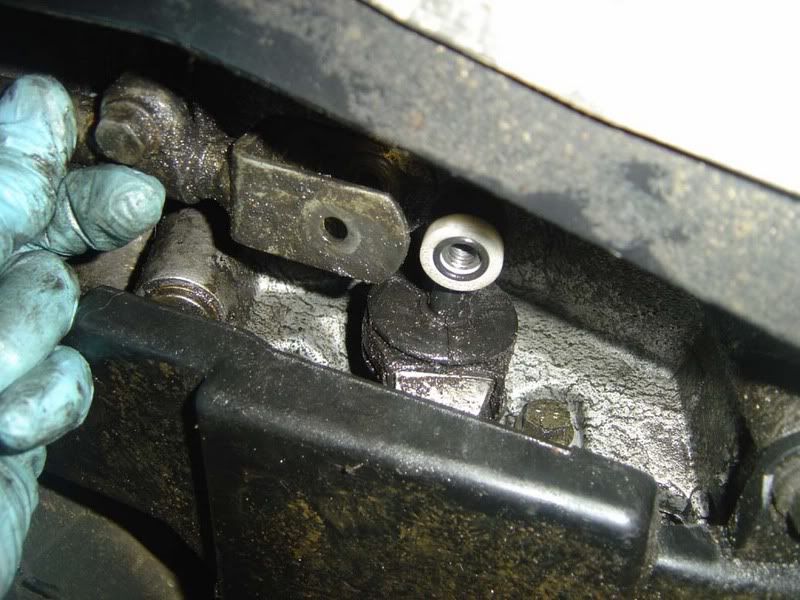
Picture 3 shows the o rings fitted to the bushes (they jus tpush in with your fingers)
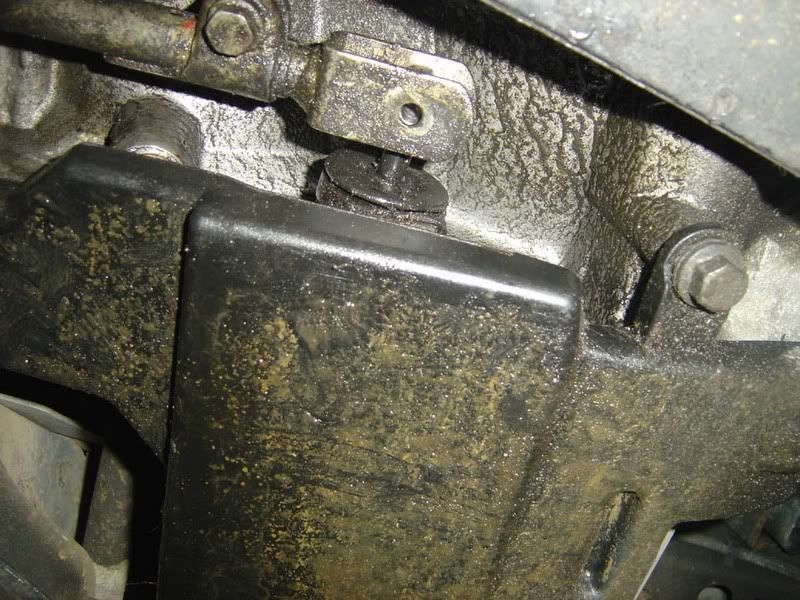
Picture 4 is the two bushes ready to fit
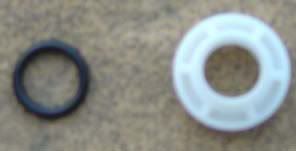
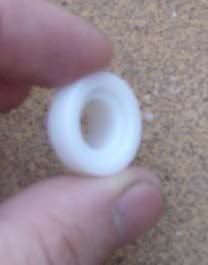

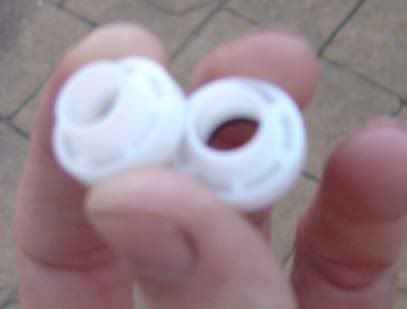
Step 2
I just wanted to show how much play there was in the gearstick, this is in first gear
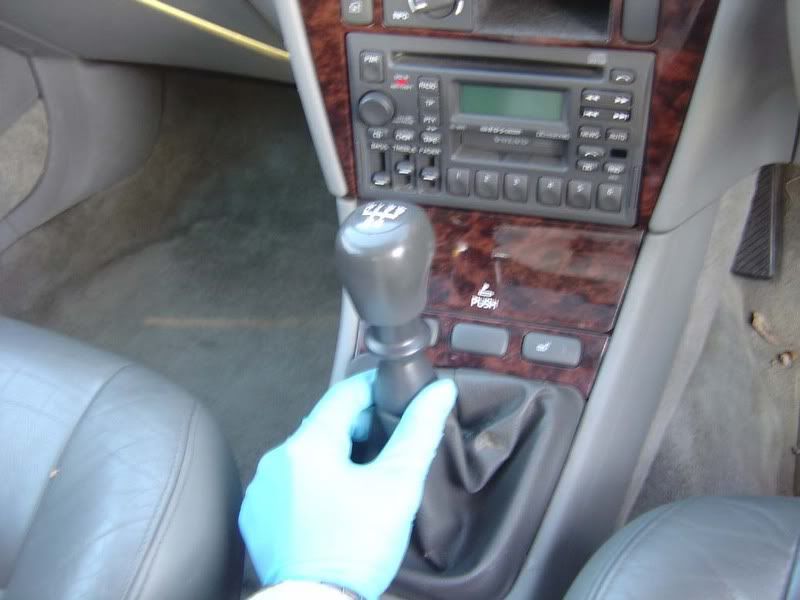
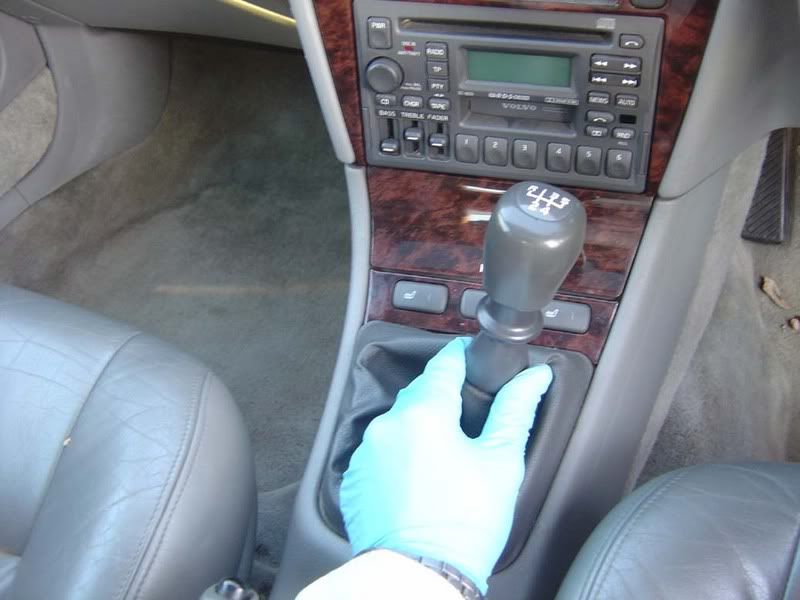
Step 3
Slide a jack under the car at a suibtable point i.e. on a structural part of the car as shown
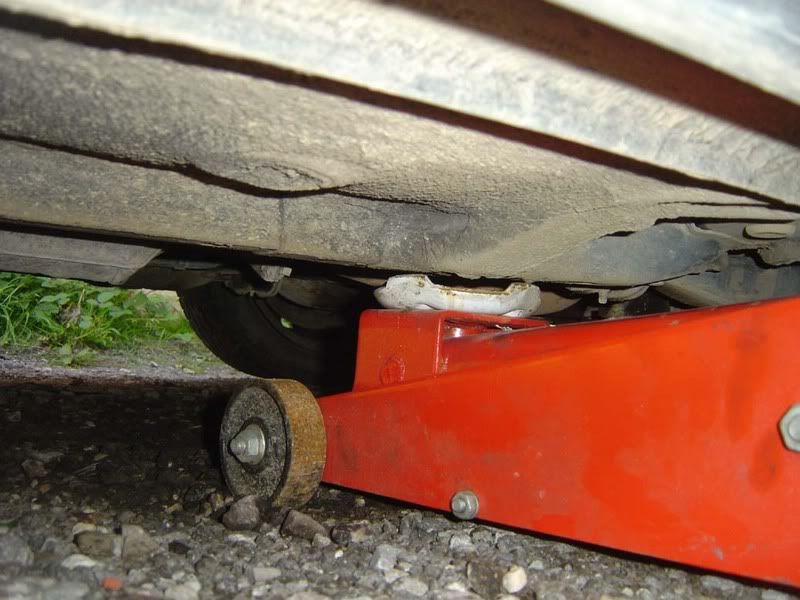
Step 4
Jack the car up nice and high, give yourself plenty of room to work or the job is twice as difficult
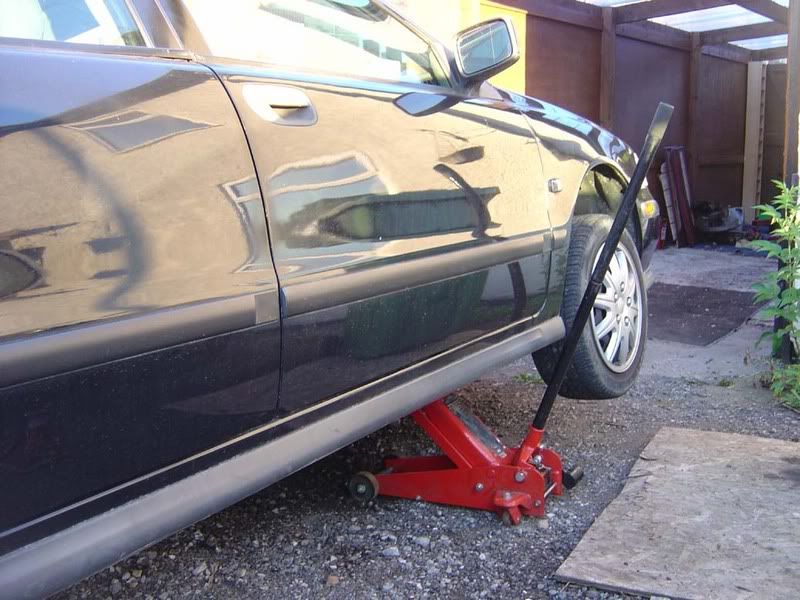
Step 5
Once the car is jacked up, fit an axle stand underneath in case the jack fails. Again, fit it on a suibtable point such as the member running down the car as shown. Note I always release the jack until the weight sits on the axle stand and then pump the jack once more so the weight is split between the two
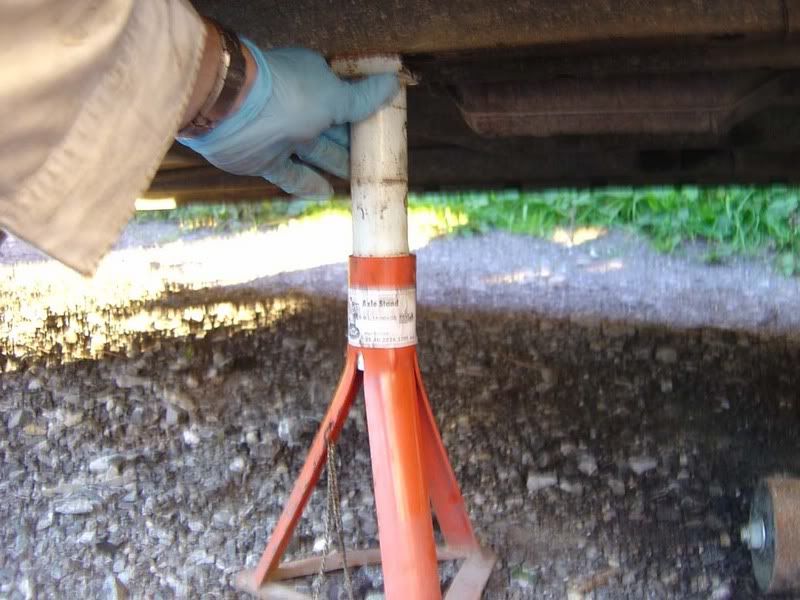
Step 6
Once the car is safely supported, climb under and trace the gearbox linkage (shown in picture 1) to the joint we are interested in (picture 2)
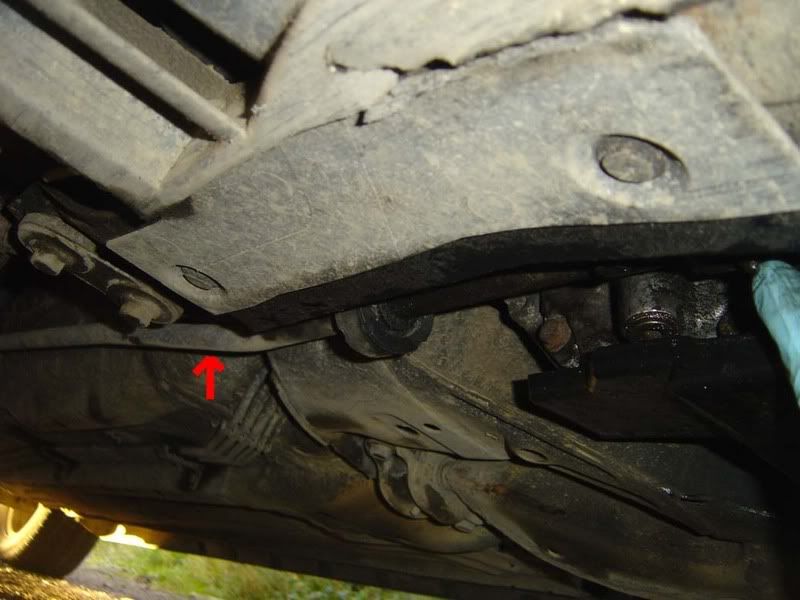
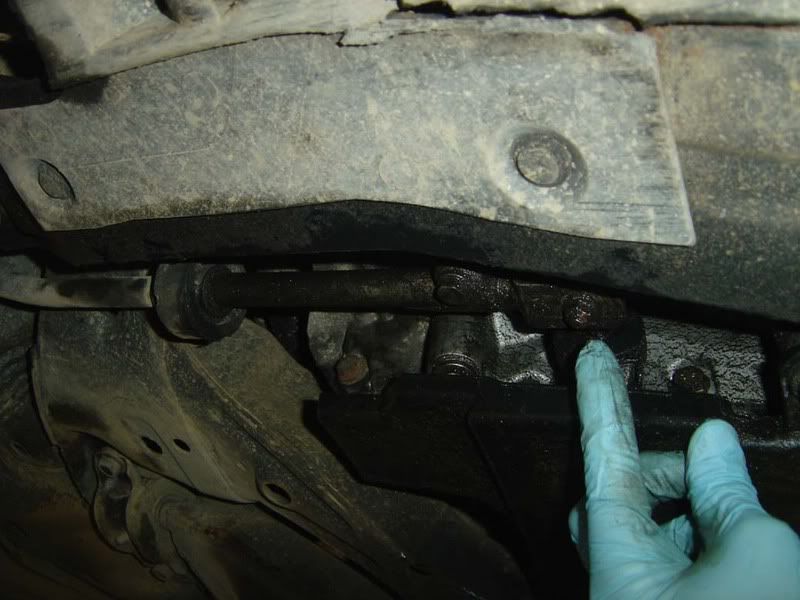
Step 7
Hook an 11mm ring spanner over the top of the assembly and hold it in place. Note you can pull the linkage down to make it easier to fit the spanner on
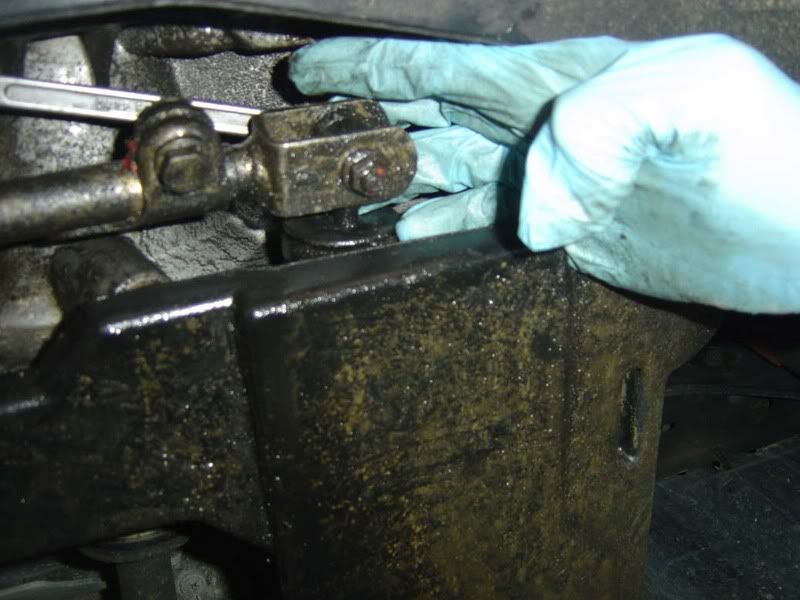
Step 8
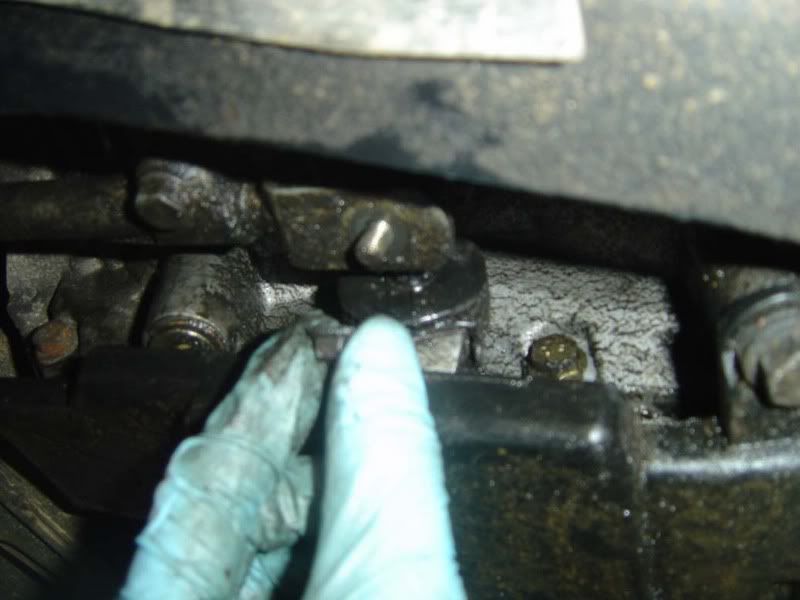
Use a socket (or spanner) to remove the 11mm nut from the bottom whilst holding the spanner
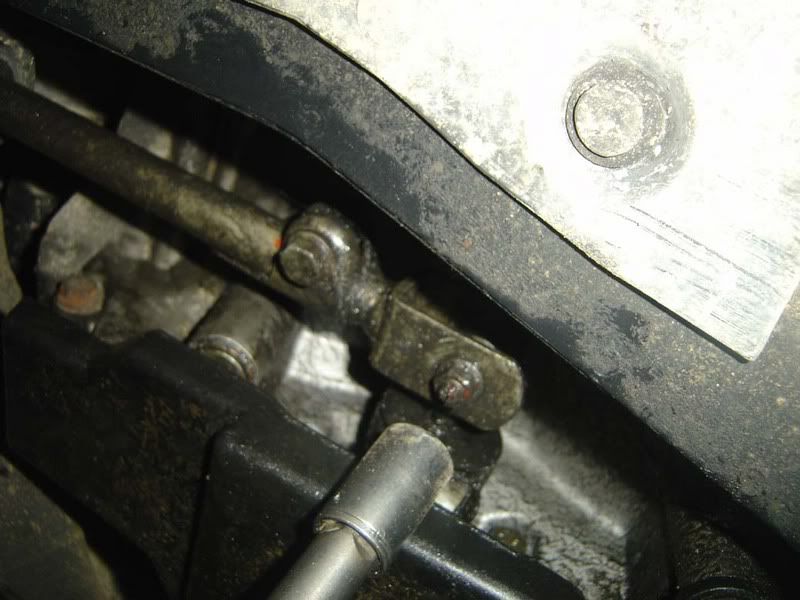
Step 9
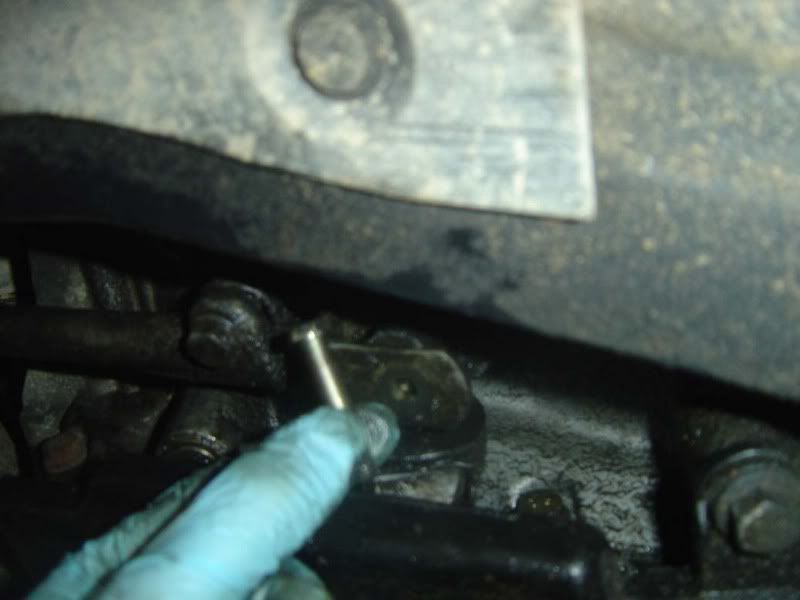
Push the bolt up and remove it from the top of the bushing
Step 10
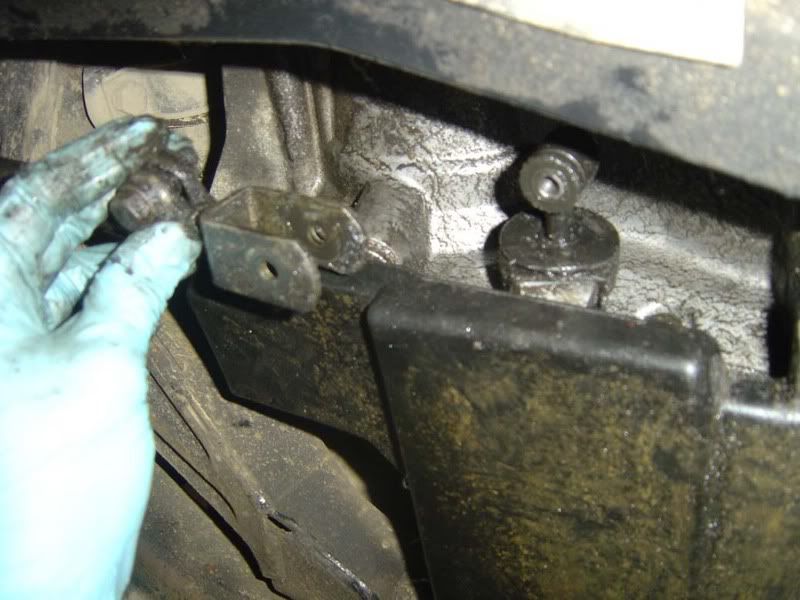
You can now move the linkage from the gear stick backwards and away from the problematic bush
Step 11
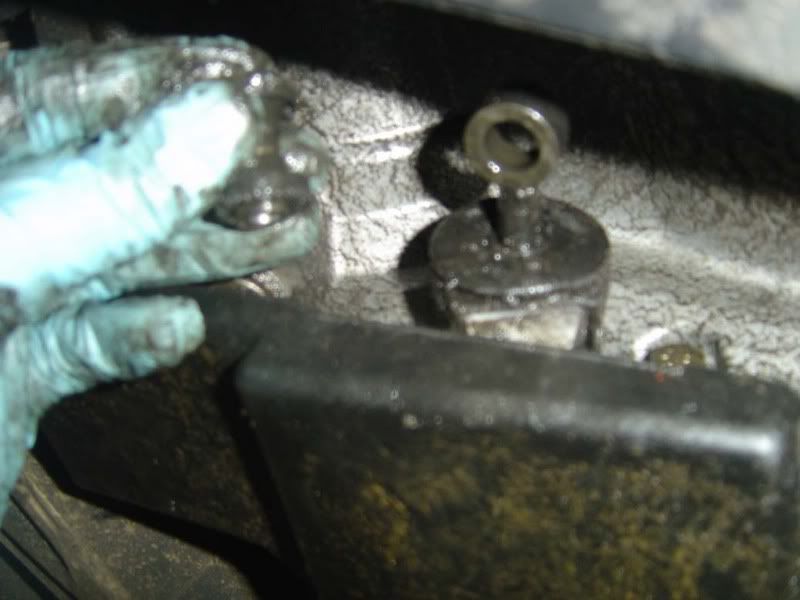
Remove the old bushing. You have the old version of the two bushes and two o rings that you bought to remove and also a metal tube that goes between them. Simply pull either bush off then the rest will slide out
Step 12
You can see the old bush was a bit oily and dirty. This picture shows the metal bar that joins the two bushes

Step 13
Here I’ve tried to show how much play there was in the bush. The metal rod could wiggle up and down in the bushing a small amount which is multiplied a lot by the time it hits the gearstick
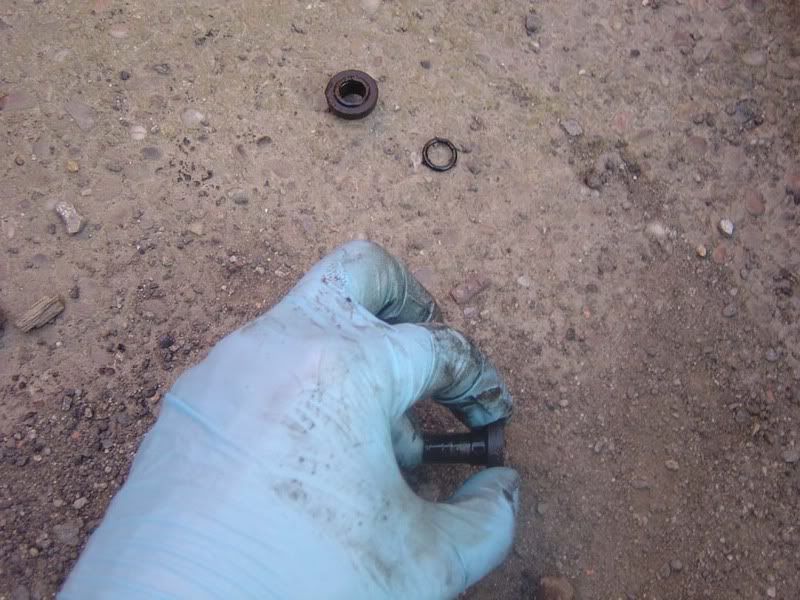
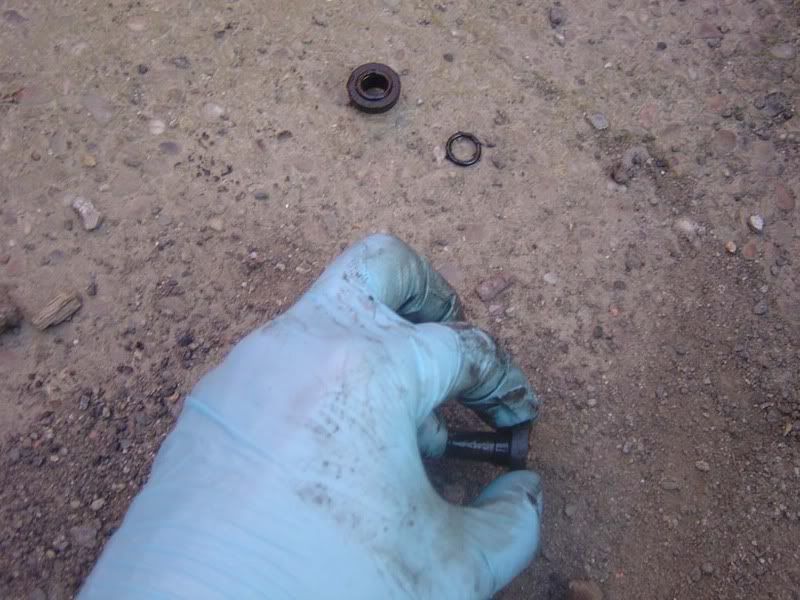
Step 14
Now give the metal rod a quick wipe and grab your two new bushes to fit (picture 1). Check everything fits together properly as shown in picture 2.
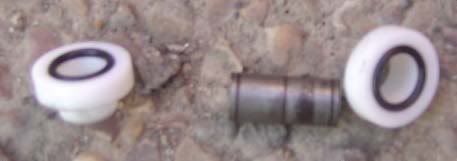
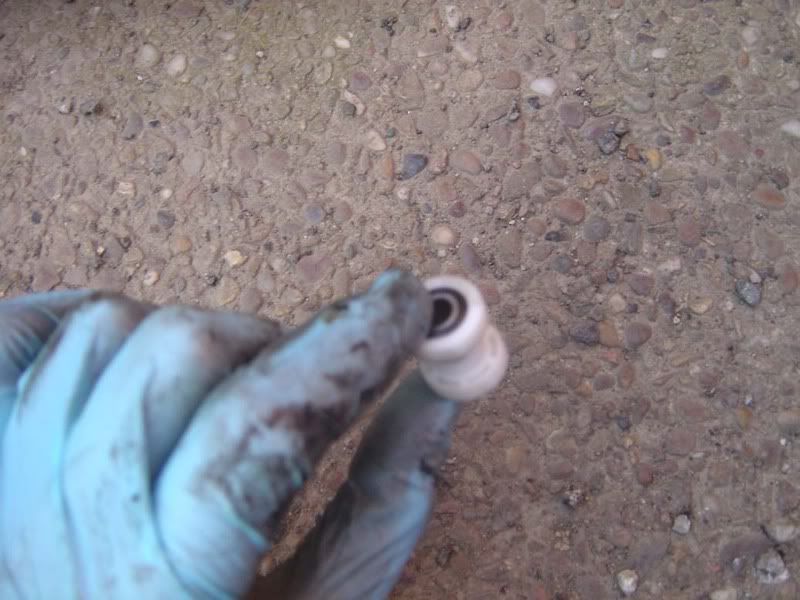
Step 15
Sorry for the blurry image but you should see I’ve fitted the top bush and metal rod in place
Step 16
Now squeeze the second bush into place, it shouldn’t require much of a squeeze if everything is lined up
Step 17
Grab the gear linkage arm and slide it back over the bush (it will be a slightly tight fit)
Step 18
Try to align the holes with those in the bush as close as you can (don’t get too carried away though!). You can see that my car is due a bit of a clean here
Step 19
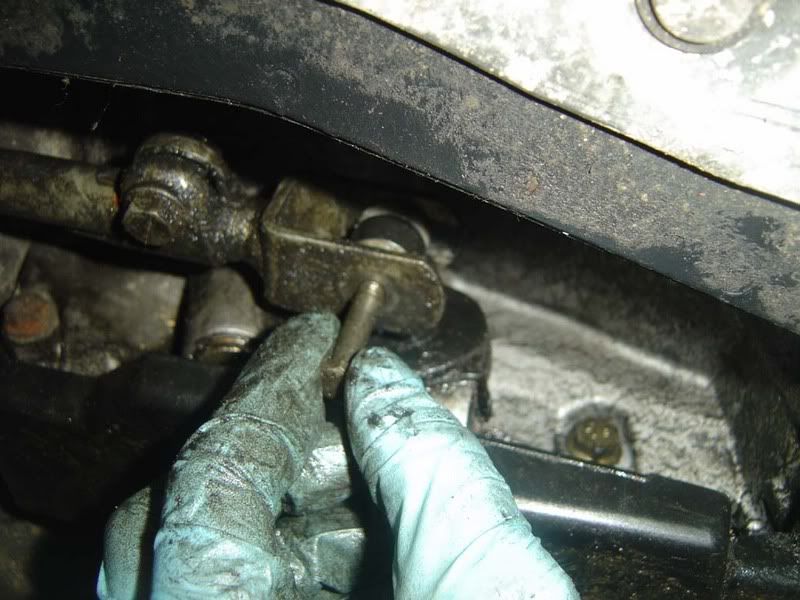
Use the bolt from the underside as shown in the picture to make sure you get everything in alignment. Whilst pushing the screw up from beneath you can manoeuvre the gear linkage around until it all slides into place
Step 20
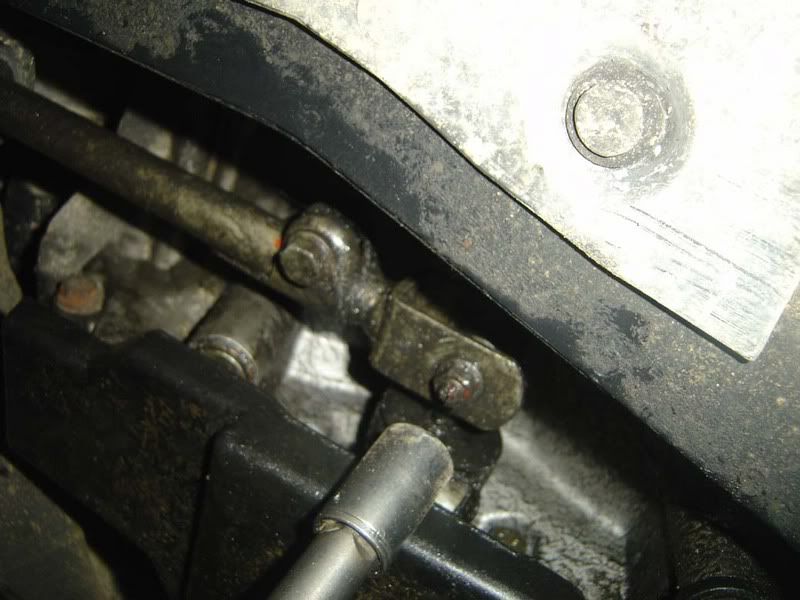
Once aligned, drop the bolt in from the top and tighten the 11mm nut on. This is done in the same way as early using the 11mm spanner on the top also
Step 21
This is to show how much play was left after the front bush was replaced
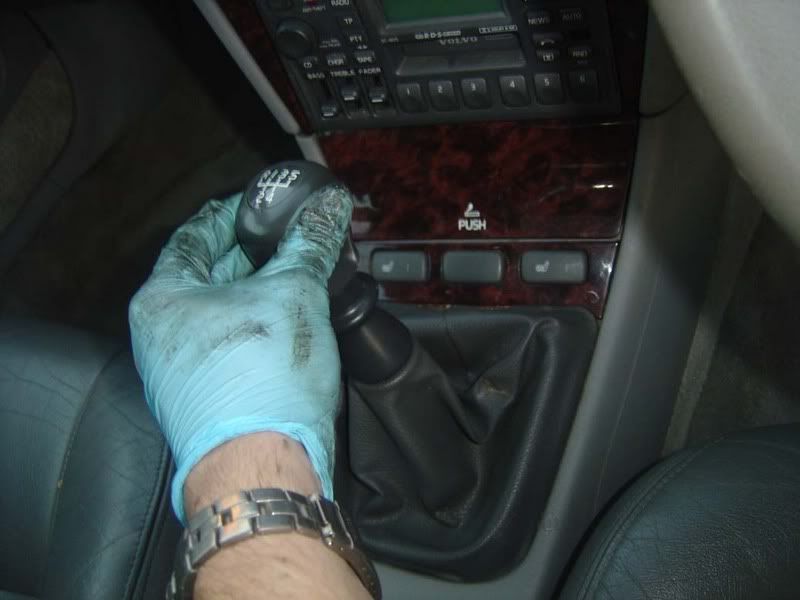
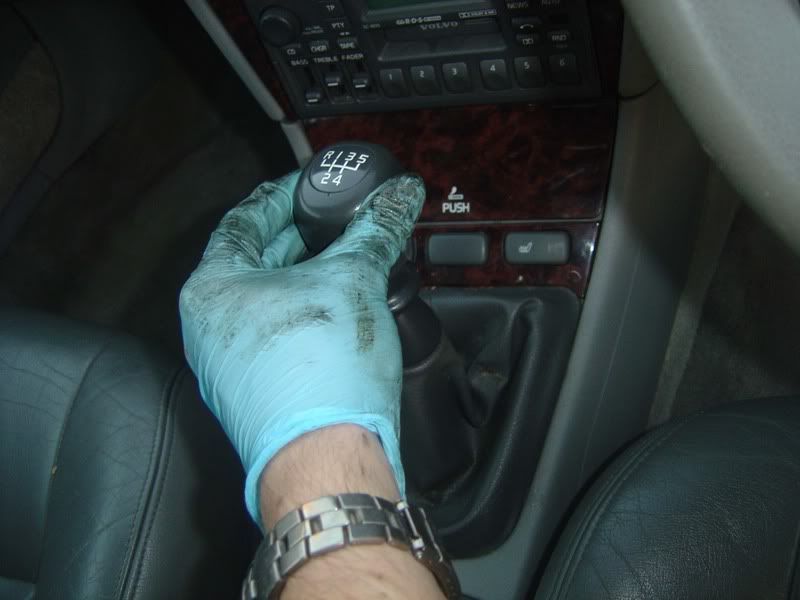
Hopefully you can see the amount of freeplay was reduced significantly at this stage. I could now get into first and second gear without having to lift the reverse collar so was thoroughly pleased.
If there is still an unacceptable amount of play in the gearstick you must also do the rear bushes: How to change the gearbox rear gear linkage bushes on 1996 – 2000 Volvo S40 and V40
Original posted in Volvo Owners Club Forum
The instructions in this tutorial will work in the following models / years:
– 1995, 1996, 1997, 1998, 1999 and 2000 Volvo S40 with Renault gearbox
– 1995, 1996, 1997, 1998, 1999 and 2000 Volvo V40 with Renault gearbox
